Management admins and staff can add a profile photo so residents in their buildings see a face on messages, maintenance replies and announcements instead of initials. Supers add theirs in the Veni app (Profile, then tap the avatar); front desk staff add theirs at the desk (see Photos at the front desk). HOA board members do not get the Photo row.
Adding your photo in the portal
- Open Settings and choose the Profile tab. Next to Photo, choose Upload photo. You can also open the account menu from your avatar in the top bar and choose Add a photo.
- Pick a JPG, PNG or WebP file up to 10 MB. Other formats, including HEIC photos from an iPhone, are refused with "That file type isn't supported. Choose a JPG, PNG or WebP photo."; save the photo as JPG first.
- Drag the circle to frame your face and use the zoom slider to fit it. The arrow keys move the circle too. Choose another picks a different file.
- Choose Save photo. Location data is removed when you save.
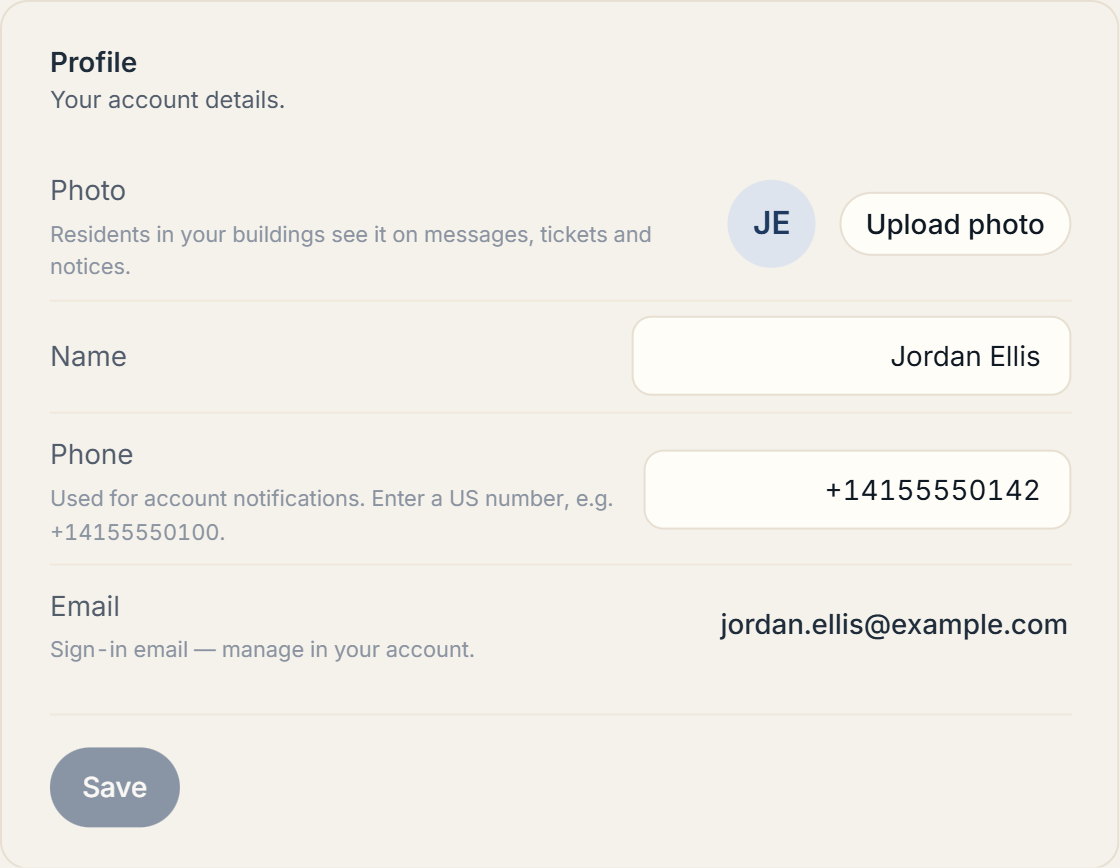 Settings, Profile tab, with the Photo row
To change your photo, choose Upload photo again (in the account menu it reads Change photo). To take it down, choose Remove next to it in Settings and confirm; your initials show instead. You can make up to 10 photo changes in 24 hours.
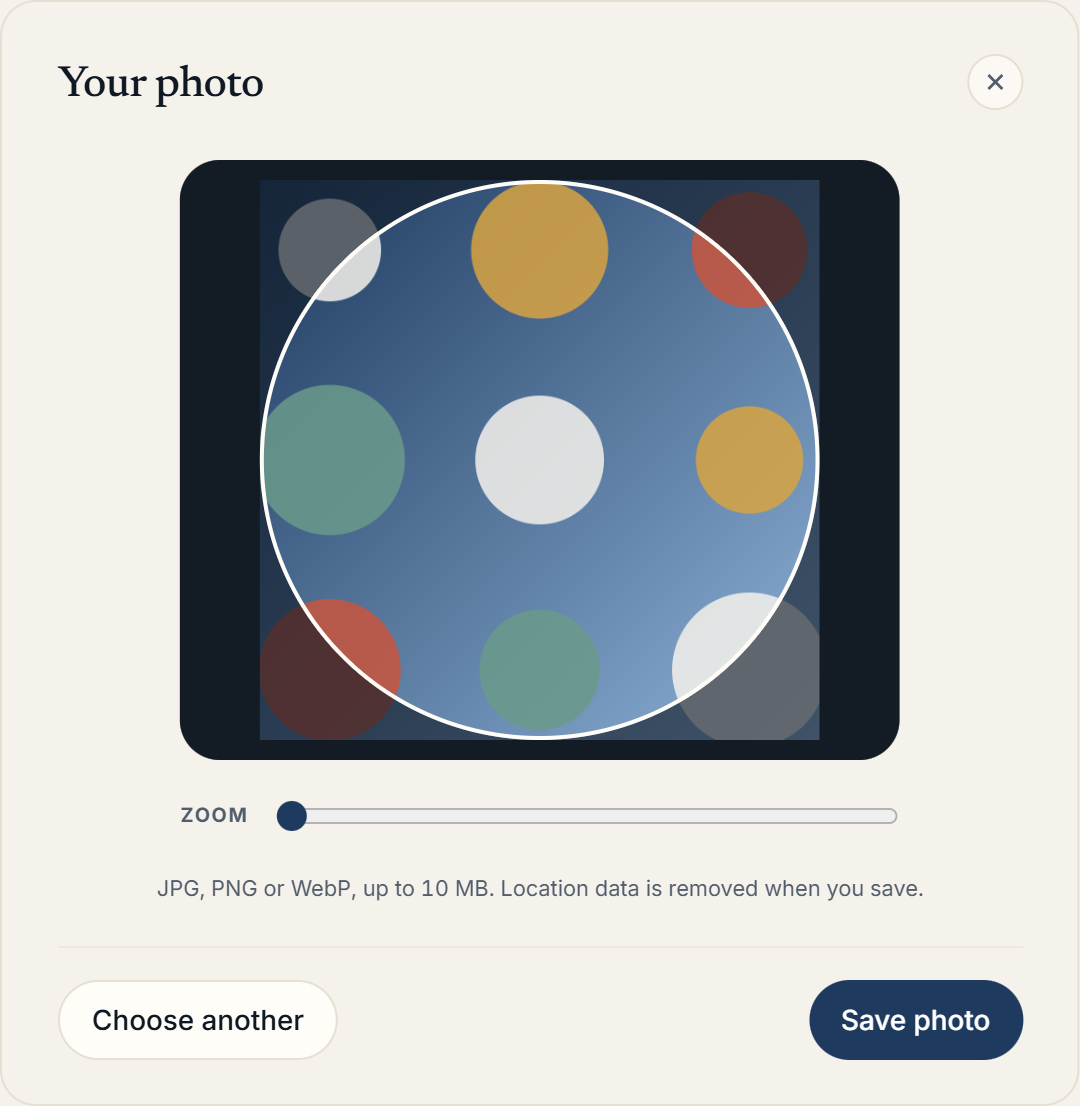 Framing a photo in the Your photo window
Who sees a staff photo
Residents in your buildings see it on your messages to them, your maintenance replies and your announcements, and the front desk sees it on announcements. Your team sees it on the staff roster. Visitors never see it, and it never appears in emails, push notifications or exports.
Removing a resident's or front desk photo
Management can remove a resident's or a front desk person's photo at any time, without waiting for a report. You need manage access to Residents (for a resident) or Staff (for front desk staff) for that building, and for a resident, a building where management sees residents by name.
- A resident: choose Remove photo on their row on the Residents tab, or on their profile.
- Front desk staff: in Building Settings, open the On-duty roster (under Front desk sign-in, choose Manage) and choose Remove photo on their row. It is also on the person's page, which View opens from their row in People & Access.
Confirm with Remove photo. Take care on the roster: the Remove button next to it takes the person off the roster, not their photo.
Removing a photo does not lock the person out: they can add a different one. A resident sees a notice in the Veni app that building management removed it. Front desk staff get no notice.
You cannot add or change a photo for someone else.
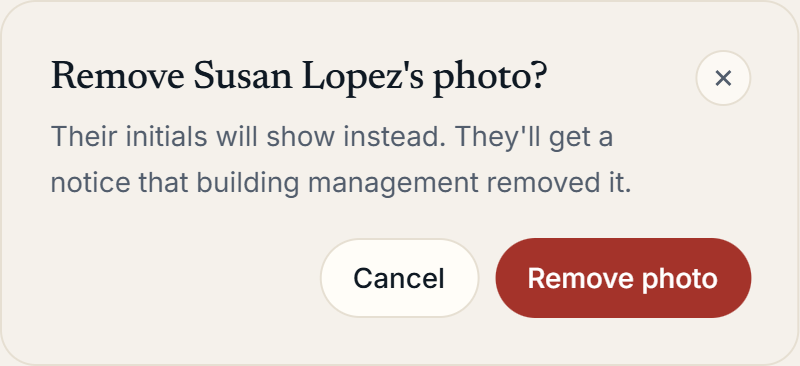 Confirming Remove photo for a resident
Reports
When a resident reports a photo, or the front desk flags one, it goes to Veni for review, not to a queue in the portal. Veni removes the photo if it breaks the rules. An encrypted copy is kept with the report and deleted 90 days after the report is resolved.
More in Getting started
- Adding your first building3 min read
- Getting started with Veni4 min read
- Inviting your team: staff, supers, and front desk7 min read
- Reading your dashboard and Daily Briefing3 min read
- Organizations, portfolios, and switching buildings2 min read