Open the door's edit screen
From a building's Doors section, open the front door card or a secondary door card and click Edit (or Configure front door / Add secondary door if none exists yet). This opens the door modal, where you set the Door name and, below it, the Unlock relay subsection.
The door name is what shows at the front desk on the ring screen and to visitors on the door's QR/NFC sticker, so keep it specific ("Loading Dock" rather than "Door 2").
Configure the relay
Check Configure relay to reveal the relay settings, then pick a Relay type:
- HTTP smart relay (e.g. Shelly): enter the Endpoint URL the relay listens on (for example
https://shelly.example.com/relay/0?turn=on). Auth header name and Auth header value are optional and let you pass a bearer token or API key if the relay requires one. Pulse duration (ms) controls how long the relay stays triggered (50 to 10,000 ms; defaults to roughly 500 ms). - Dial-to-open relay (phone call): enter the Opener phone number the system calls to trigger the relay (a number your dial-to-open relay module answers). Ring duration (ms) is optional (500 to 30,000 ms, defaults to 5000).
Below the relay settings, VeniAI call summaries is a separate toggle that automatically summarizes calls placed through this door. Leave Enabled checked for the door to be usable; unchecking it disables tenant and visitor access through that door without deleting its configuration.
Test the relay
The modal itself does not fire the relay. Save the door first, then use the Open now (test) button on the door's card in the Doors list to trigger a real unlock and confirm the relay responds. The card shows the result inline as succeeded or a failure reason, and it also displays the time and status of the last real open.
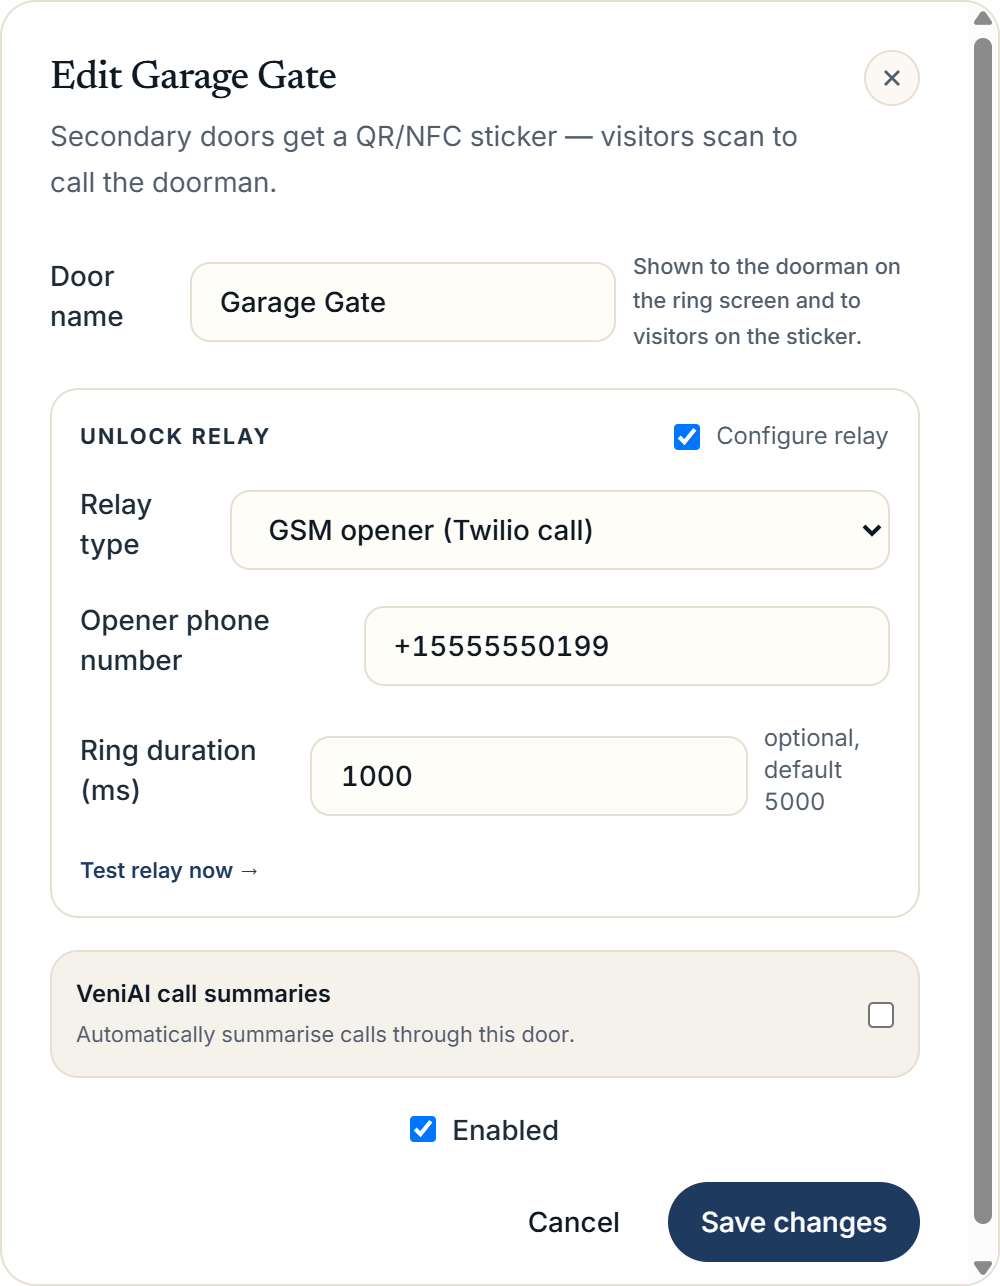 Door edit modal showing the Unlock relay subsection with HTTP smart relay fields expanded
Front door versus secondary doors
The front door is used for visitor intercom calls when the building is in intercom mode. Secondary doors (loading docks, side entrances, handicap access) each get their own QR/NFC sticker that visitors scan to call the front desk, and are only available on buildings running in front desk mode. If a legacy opener from the old Door Openers screen is not yet attached to a door, a callout above the doors list lists it with Re-bind and Delete options so you can migrate or clear it out.
More in Buildings
- Setting up a door and pairing an intercom panel2 min read
- Intercom mode vs front desk mode1 min read
- Adding and managing secondary doors1 min read
- Posting building announcements to residents1 min read
- Printing QR decals for the lobby and doors1 min read