When you're onboarding a whole building at once, Bulk Add turns a rent roll (or even a photo of the buzzer panel) into resident invites in three steps. Open a building's Residents tab and choose Bulk Add, or go to Building Settings. You need manage-level access to residents to use it.
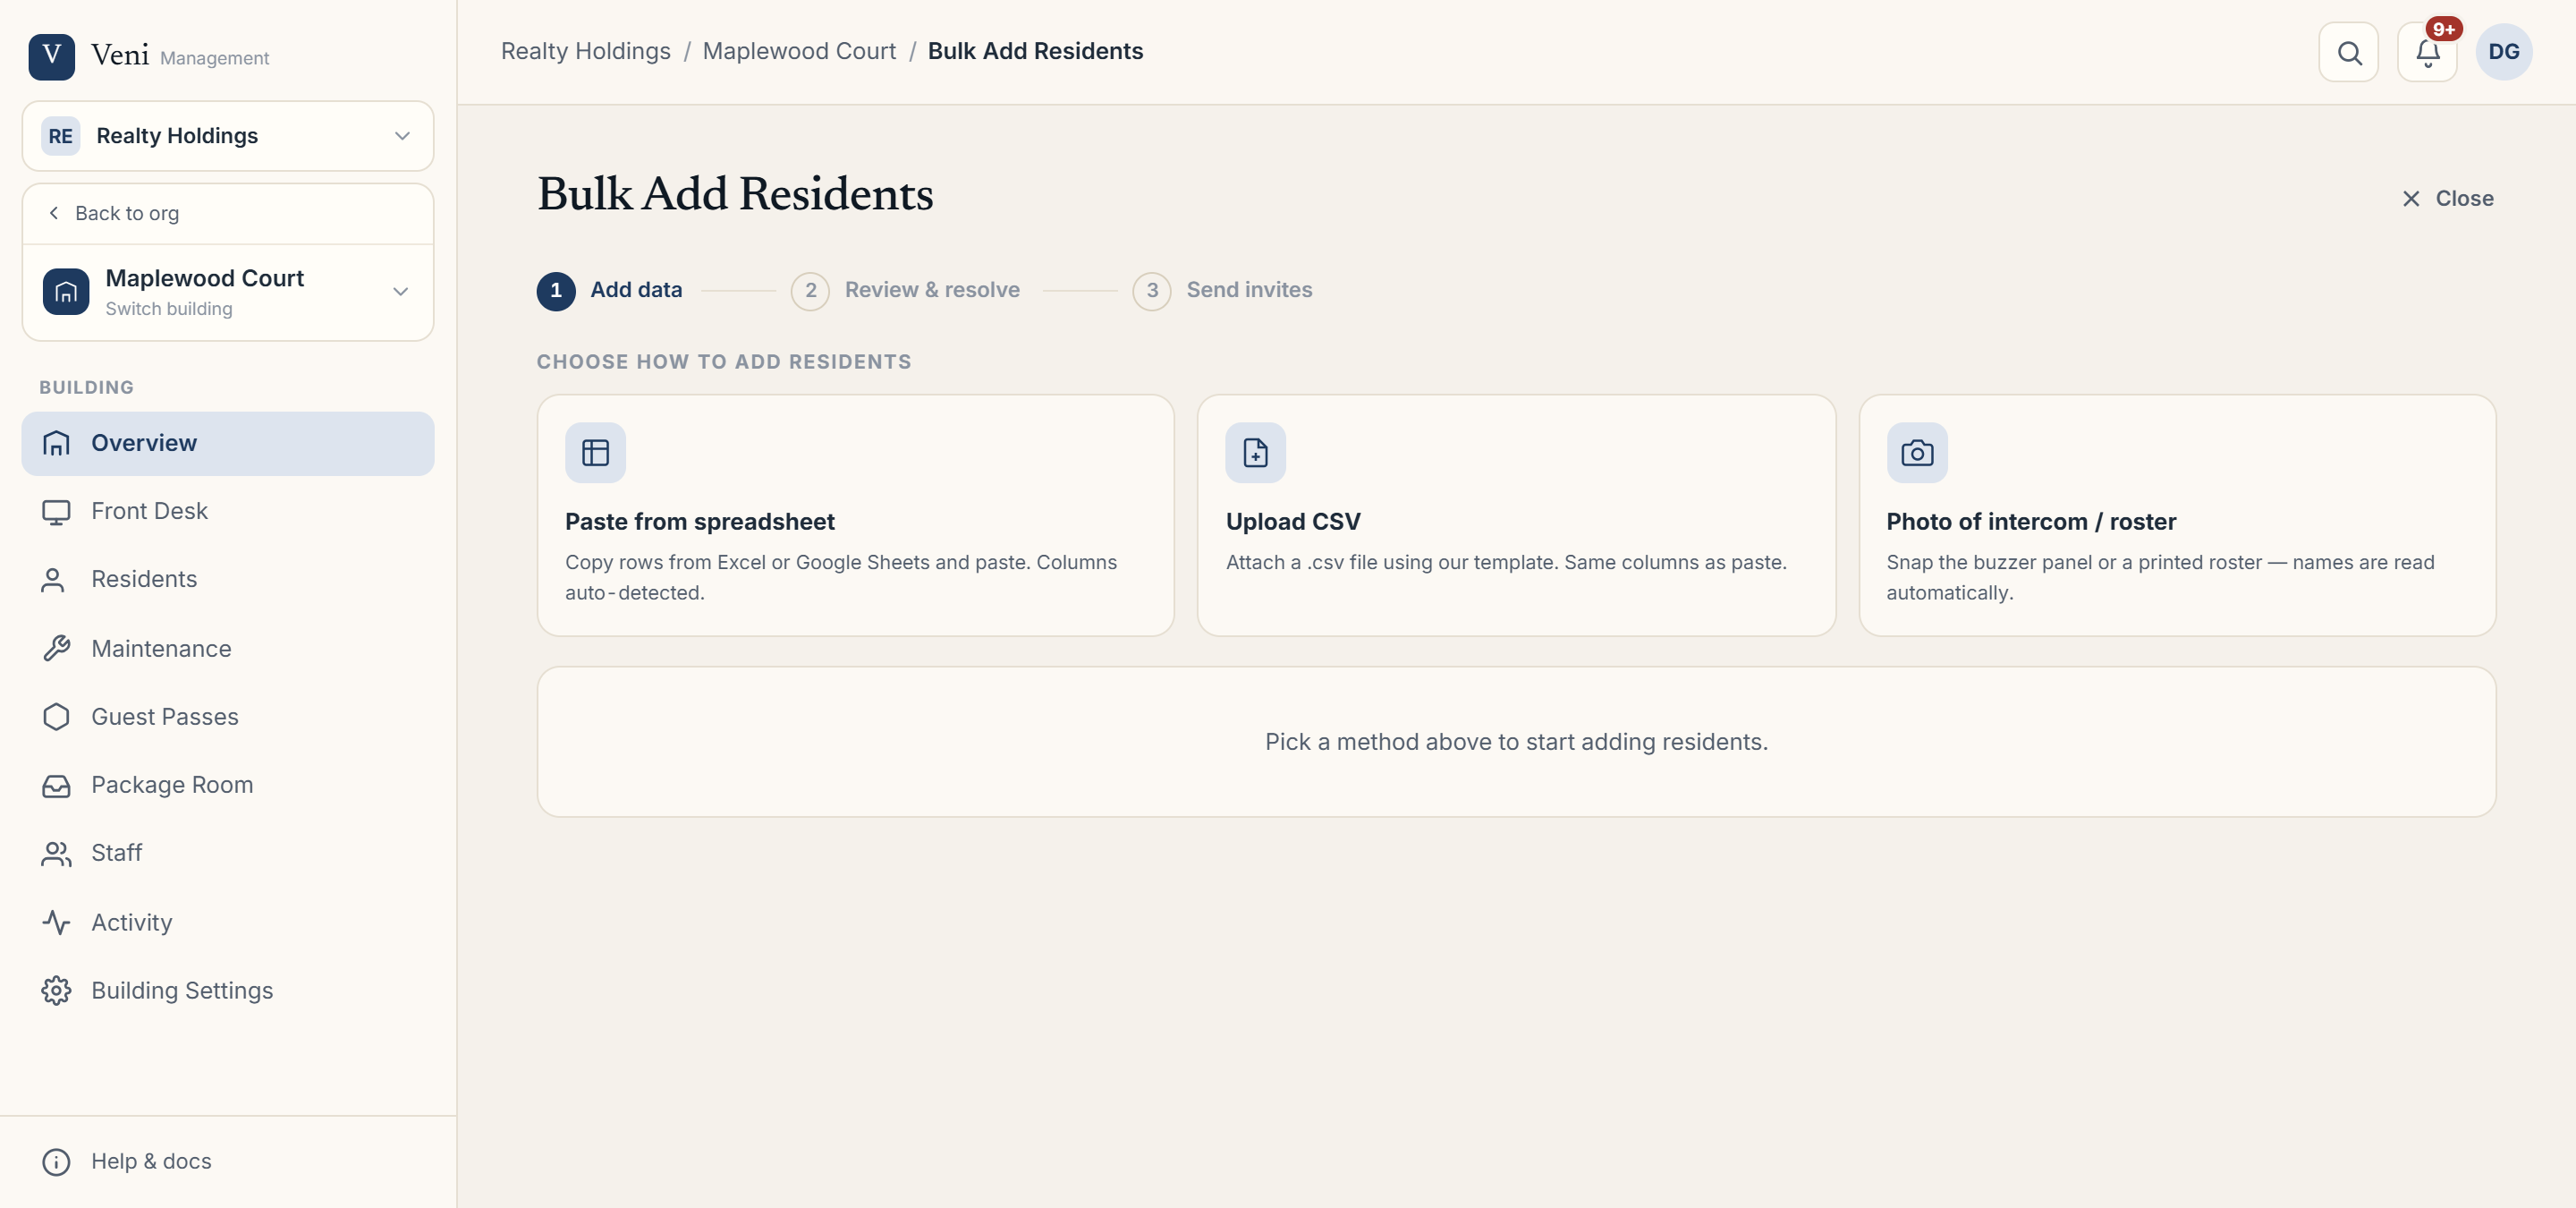 Step 1 of the Bulk Add Residents wizard
Step 1; Add data
Choose one of three ways to bring in your list:
- Paste from spreadsheet: copy rows from Excel or Google Sheets and paste. Columns are auto-detected, with
Unit,First,Last,Email, andPhonemapped for you. - Upload CSV: drop a
.csv(up to 5 MB). Use Download template if you want the exact column order. - Photo of intercom / roster: snap the buzzer panel or a printed roster and Veni reads the names automatically.
Step 2; Review & resolve
Every row gets a status so you can fix problems before anything sends:
- New, Existing user, Already active, Invite pending; informational.
- No contact, Invalid email, Needs review; need a fix (Needs review flags a low-confidence photo read).
Use the All / Needs fixing / Review / Skipped filter chips to work through them. New units are flagged + new unit, and a sticky bar tallies how many invites will send.
Step 3; Send invites
Confirm to send. The result card breaks down Invites sent (by email or SMS), residents attached to existing Veni accounts, new units created, and anyone skipped because they were already active or pending.
More in Residents
- Inviting residents: one at a time or in bulk2 min read
- Tracking resident app adoption1 min read
- Ending, moving, and reviewing a tenancy1 min read
- Managing units and vacancies1 min read
- The resident profile and entry history2 min read